One of the big problems that I faced was how to make 28 town sectors on a small budget. There were no 3D printers back in the dark ages. Fortunately I had previous experience resin casting for model railways. The first job was to make some masters for a small selection of houses. I looked at some period photo's and tried to capture the look of greek village buildings. All the town sectors were made up using these 4 models.

They are scaled slightly smaller than 6mm scale but still look OK on the table. The masters were made from a heat set clay called FIMO, but any similar product will do. Create a basic structure, let it set, and then add the details one at a time. I was surprised how easy it was.
The next step is to make a mould to cast from. This is simpler than it sounds.

Normally I would buy a tin of Silicone castingrubber but that's a bit out of the price range of this project. Instead I used a tube of Silicone Calking rubber, used world wide as a bathroom sealant. Coat the master with a thin coat of petroleum jelly ( Vaseline) so that it will come out of the mould at the end( you can see on the master that I didn't do this, and tore the mould on the way out). Then put a layer of Silicone rubber over the master, trying not to get any air holes next to the masters surface, and leave to set. it just needs to cover the model. when set add another layer until you build up the thickness of the mould to about 5-7mm thick.
Now, with our small budget, there is only 1 casting material to use. I chose Plaster as it didn't have to last too long and would be reasonably tough. Just mix it up and use a small screwdriver to get it into all the corners of the mould. then carefully demould it when it is set.

A little work to clean them up ( these were from later in the casting process and the moulds had had a bit of wear by that stage) and they are all ready to paint and base And here is the result. a quick paint job and some scenic effects and its all done.

In the end quite simple and they did look good on the table which is the most important thing. And the total cost? For 28 town sectors I think about $30NZ, which is $15US at the moment. Compared to what I was looking at paying commercially for each house there was no other way I could have done it.
The figures for all the units were purchased from Heroics and Ros. The British were from BR01 infantry and BR02 support weapons. The handfull of other stands were from the standard range. Likewise the German paratroops were GR03 paratroops and support weapons. The mountain troops were GR08 panzergrenadiers for the action poses.
The handfull of special stands.

Matilda
II from 7 RTR. There were only 2 tanks as part of the defence of Maleme
airfield but they are an important part of the story so get a stand.

Mk VIB light tank. 2 stands present from C sqn, 3rd Hussars
A
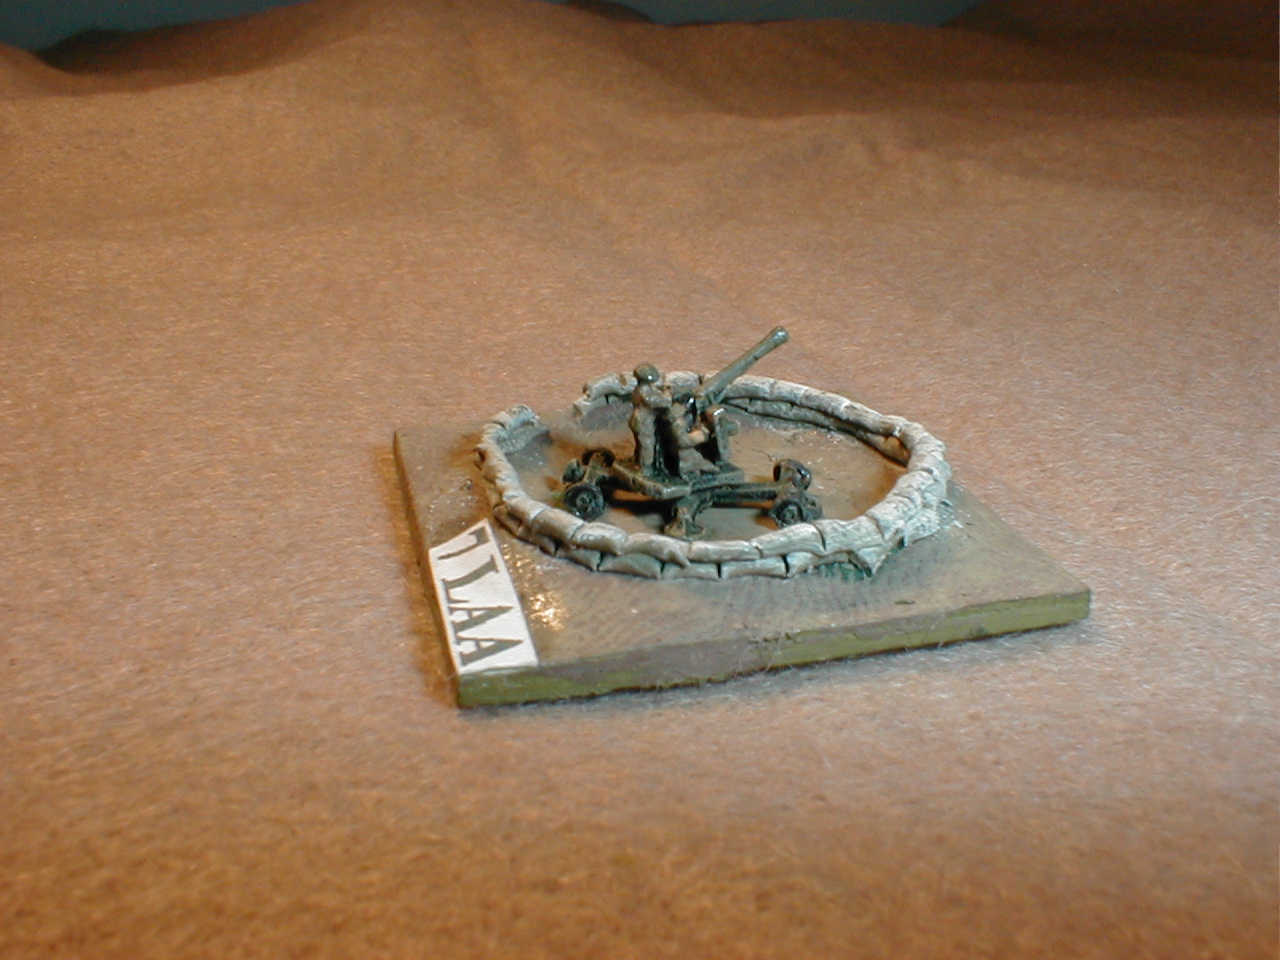
battery of Bofors 40mm AA from 7 LAA was present on Maleme airfield.
These lucky chaps have a sandbagged gunpit, though I should have added
lots of spent brass and other detris.
The British figures were recycled and went on
to fight in Normandy and Market Garden and many other skirmishes, while
the German paras have fought successfully in many battles since (often
against horrible odds with little support), but have never again been
required to jump out of a plane again.
No comments:
Post a Comment